Pulse of Information
Stay updated with the latest news and insights.
Product Photography That Sells: Shoot Like a Pro
Master product photography with tips that boost sales and make your images irresistible. Shoot like a pro and watch your business thrive!
5 Essential Tips for Captivating Product Photography
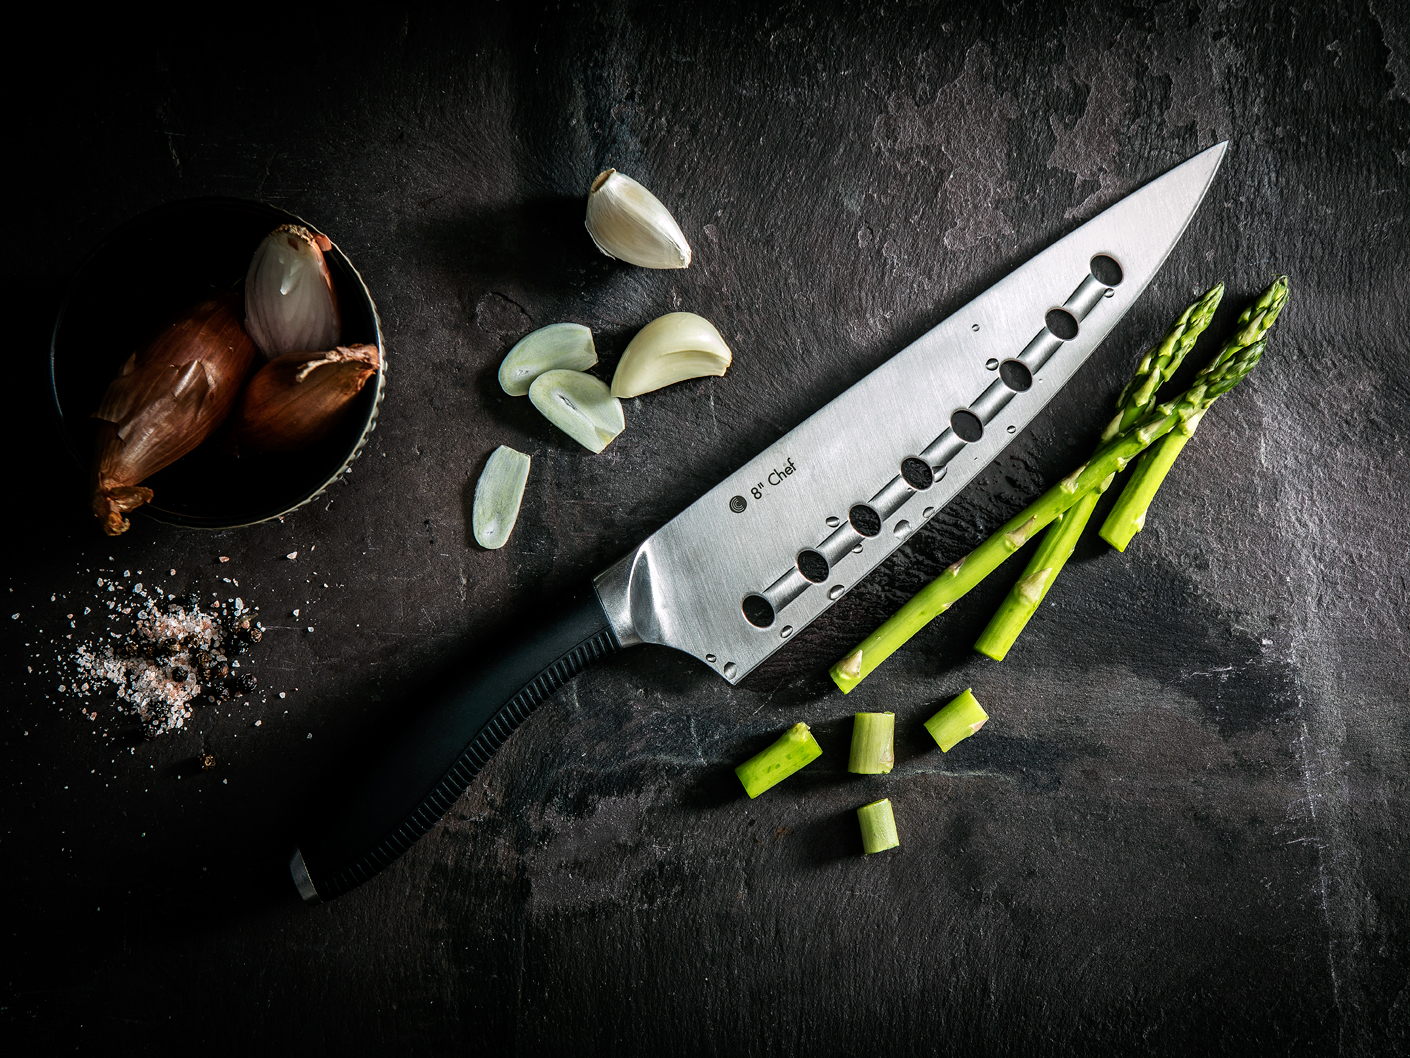
Captivating product photography is essential for grabbing the attention of potential customers and showcasing your products effectively. To start, lighting is crucial; natural light is often the best option as it provides an even and flattering illumination. Avoid harsh shadows by shooting during the golden hours—early morning or late afternoon. Additionally, consider using a lightbox for smaller items to achieve a professional look. Composition is equally important; use the rule of thirds to create a balanced image and allow your product to stand out as the focal point.
Another key tip is to choose the right background. A clean, uncluttered background can help highlight your product effectively; solid colors or subtle textures work well for this purpose. Use props strategically to tell a story or add context to your product but avoid overcrowding the frame. Finally, don’t forget post-processing; minor adjustments in brightness, contrast, and saturation can enhance your images dramatically. By implementing these five essential tips, you can elevate your product photography and engage your audience more effectively.

How to Use Lighting to Enhance Your Product Shots
Lighting plays a crucial role in enhancing your product shots, as it can dramatically influence the mood, texture, and details of your products. Start by identifying the type of lighting that best suits your product. Natural light is often recommended for its softness and ability to create a warm atmosphere, especially for items like clothing and jewelry. If natural light isn't available, consider using a combination of softbox lights or LED panels, which can help replicate that gentle illumination. Additionally, using reflectors can help bounce light onto your product, illuminating areas that may otherwise appear shadowy, thus improving the overall visual appeal.
When photographing products, it's essential to remember the angles and shadows created by your lighting setup. Experiment with different light positions to see how they impact the shadows cast, as this can add depth and dimension to your shots. For instance, placing your light source to the side can create striking side lighting, emphasizing the texture of the product. On the other hand, using backlighting can impart a sense of transparency or glowing effect, ideal for glass or liquid products. Don't forget to adjust your camera settings accordingly to capture the best image quality, ensuring that your product shines in the best possible light.
What Equipment Do You Need for Professional Product Photography?
When it comes to professional product photography, having the right equipment is crucial for capturing high-quality images. At the very least, you will need a DSLR or mirrorless camera that allows for interchangeable lenses, giving you the flexibility to shoot various products in different contexts. Additionally, a sturdy tripod is essential for ensuring stability and minimizing camera shake, especially in low-light conditions. Don't forget about a quality lens; a macro lens is ideal for photographing small products, while a standard zoom lens can be versatile for larger items. Finally, consider investing in lighting equipment such as softboxes or speedlights to achieve well-lit, professional-looking images.
Besides the main equipment, there are several accessories that can enhance your product photography. A light meter is beneficial for measuring the light in your setup, allowing you to adjust your settings accordingly. A reflector can help bounce light onto your product, reducing shadows and creating a more balanced look. For post-processing, utilizing software like Adobe Lightroom or Photoshop can elevate your images even further, enabling you to adjust colors, contrast, and sharpness. In summary, investing in both essential equipment and useful accessories will significantly improve the quality of your product photographs.