Pulse of Information
Your source for the latest insights and updates.
Snap Happy: Transforming Your Space into a Photo Studio Wonderland
Discover how to turn any room into a stunning photo studio! Unleash your creativity and make every shot magical with simple tips.
10 Tips for Creating the Perfect DIY Photo Studio at Home
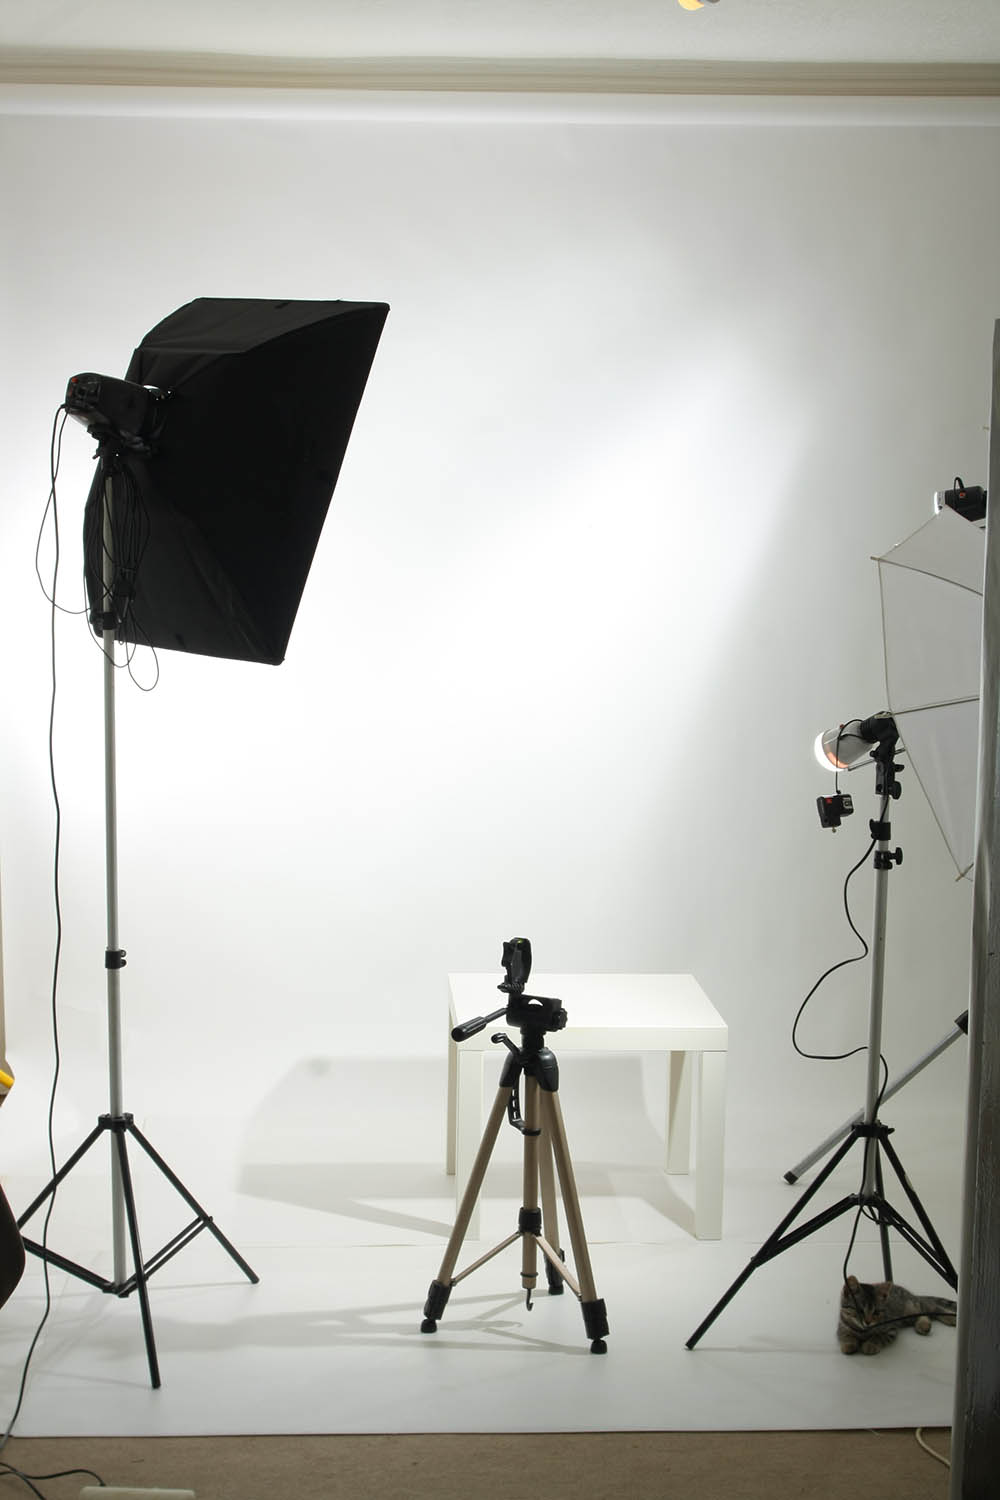
Creating the perfect DIY photo studio at home can seem daunting, but with a little planning and creativity, you can achieve professional-quality images without breaking the bank. Start by choosing a dedicated space in your home, such as a spare room or a corner of your living area, where you can control lighting and backgrounds. Use natural light whenever possible; a window with soft, diffuse sunlight is ideal for capturing stunning shots. If natural light is limited, consider investing in affordable softbox lights or LED panels to illuminate your subjects evenly.
Next, focus on the essentials of your DIY photo studio: backdrop, props, and camera equipment. A clean and versatile backdrop can elevate your photography—think solid colors or simple patterns. You can also create your own using materials like muslin fabric or poster boards. Don’t forget to gather props that enhance your photos, making them more engaging and visually appealing. Lastly, ensure your camera settings are optimized for the best results; adjusting the aperture and ISO levels can greatly affect the outcome of your images. Following these steps will set you on the path to creating a stunning and functional home photo studio.

Essential Lighting Techniques for Stunning Photography
Lighting is a crucial element in photography that can make or break a shot. Understanding essential lighting techniques can dramatically enhance your images. One key technique is natural lighting, which utilizes sunlight to create beautiful, soft effects that add depth and dimension to your photos. Here are a few tips for using natural light effectively:
- Shoot during the golden hour – shortly after sunrise or before sunset, when the light is warm and diffused.
- Utilize reflectors to bounce natural light onto your subject, eliminating harsh shadows.
- Experiment with backlighting to create a more dramatic effect in your composition.
Another vital technique is the use of artificial lighting, which provides more control over your shooting environment. Common artificial lighting methods include the use of flash and continuous lights. For instance, using a speedlight can help freeze action and add a creative flair to your images. Consider these tips to master artificial lighting:
- Diffuse the light with softboxes or umbrellas to reduce harsh shadows and create a more flattering look.
- Use multiple light sources to add dimension and texture to your photos.
- Experiment with different lighting angles to see how they change the mood of your images.
What Equipment Do You Really Need for a Home Photo Studio?
Setting up a home photo studio doesn't have to be daunting if you equip yourself with the right items. At a minimum, you should invest in a good camera and lens. Whether you opt for a DSLR, mirrorless, or even a smartphone with an excellent camera, your choice should align with your photography goals. In addition, a sturdy tripod is essential to ensure stability and reduce blur in your photos. Consider incorporating a solid backdrop, like seamless paper or fabric, to create a professional look. Furthermore, proper lighting can make or break your photos; therefore, investing in softboxes or LED lights is highly recommended.
Once you have your primary equipment sorted, focus on the accessories that can elevate your photography experience. Accessories such as reflectors help to bounce light and create softer shadows, giving your photos a more polished appearance. Additionally, a light meter can help ensure your exposure settings are spot on. Don’t forget about editing software; even if you capture the perfect shot, enhancing it post-shoot is crucial for a professional finish. This combination of essential and supplementary gear will set you on the right path in creating a functional and aesthetically pleasing home photo studio.